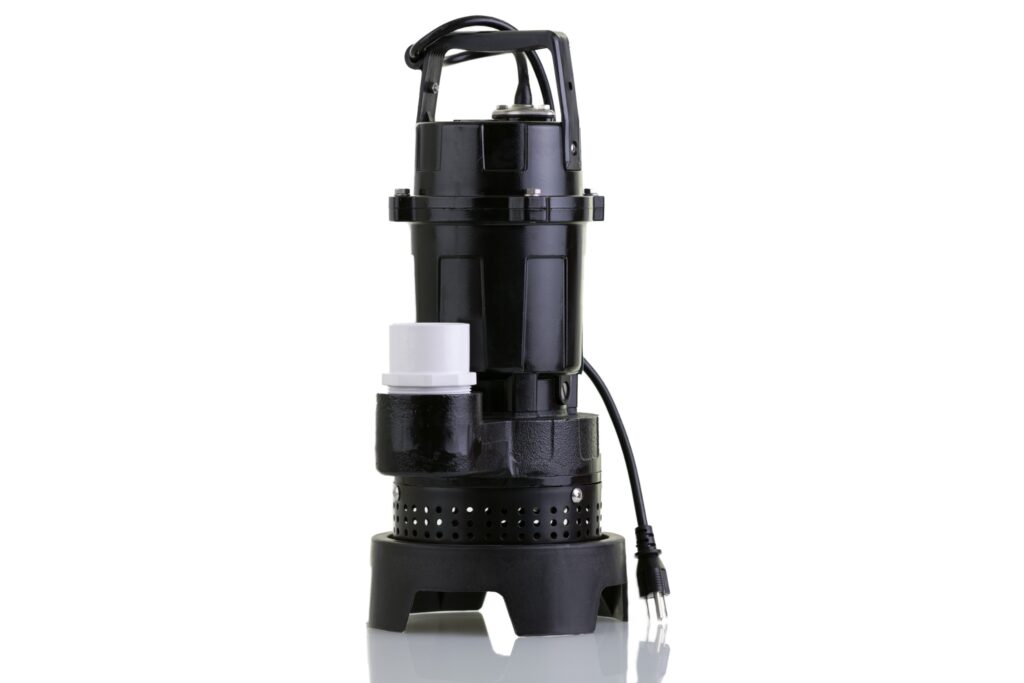
How To Install A Sump Pump Yourself

If you live in a house with a basement or in an area prone to flooding, having a sump pump is essential. This system will help purge water in case of a flood or burst water pipe, and keep your home safe, dry and protected from any foundational damage. If you’ve already got a sump pump, and need to replace it, here is the full guide on how to do it yourself, courtesy of Dillon Plumbing!
- Disconnect the old pump from the GFCI outlet and take it out of the pit to remove the old pump and check valve. The check valve should be removed at this stage, and the water should be allowed to drain. Although an old check valve can be reused, it would be better if it were replaced at the same time as your new sump pump.
- Examine the sump pump pit: Make sure the basin has a solid, level bottom so the new pump can be installed within. If you notice anything impeding it, use a wet/dry vacuum to remove the extra items. It should be free of water and debris.
- Prepare the new pump: Remove the new pump and check valve from their packaging and set them aside.
- Connect the union to the PVC discharge piping: Use a rag to remove any water or debris from the PVC discharge piping that is currently in place. For a tight fit, position your PVC threading connection on the discharge piping firmly after liberally applying PVC primer and adhesive to the interior of the union.
- Measure the length of your pipework: From the pump’s discharge to the union, determine the length of tubing you’ll need. To calculate how much, subtract the check valve’s size from the piping size.
- Cut the Pipe: Divide the PVC piping into two pieces using a hacksaw, trimming any rough edges with a knife or sandpaper. Wrap the threads in plumber’s tape before attaching the fittings that are appropriate for the size of your pipe.
- Attach the pipes to the check valve: Using a screwdriver, loosen each clamp on the check valve, then insert the piping firmly into the rubber boot. To ensure a secure fit, you might need to exert some pressure. Then, using a screwdriver, tighten the clamps.
- Drill weep holes: In the pipeline that runs from the pump to the check valve, drill a 3/16-inch hole. Weep holes prevent air locking, which occurs when air gets into the pipe and prevents the flow of water
- Set up the pump: The threaded pipe should be tightly screwed into the pump’s discharge section. Put the pump into the pit, making sure it’s level and that the float switch has room to move freely on both sides. Make sure the discharge pipe’s connection is securely tightened.
- Attach the pump and test it: Connect the device to a GFCI outlet, and then zip tie the cord in place. By partially filling the pit with water, you can test the pump. It ought to turn on and drain the basin automatically. Place the basin cover over the pit to stop odors after making sure the sump pump is operational.
Have More Questions About Your Sump Pump? Call Dillon Plumbing!
We hope you are enjoying your new sump pump! However, if you’ve read this guide and decided that you either can’t or don’t want to install a new sump pump in Boise Metro area, then you can always give Dillon Plumbing a call! We’re experts in installing sump pumps and we can take care of everything for you so you can just relax knowing your home is protected!
